

Introduction
Revamp Your Space: Stain Hardwood Floors Different Color promises not only a transformation but an elevation of every room in your home. The importance of this choice cannot be overstated—it’s more than a mere change; it’s about reinventing your space to reflect your style, while also ensuring your floors keep their allure over time.
Staining hardwood floors a different color boosts the aesthetic appeal significantly. It’s like giving your home a new soul. You’ll marvel at how a different shade can alter the ambiance, making spaces feel warmer, larger, or even more luxurious. Whether you lean towards a classic red/cherry to enrich lighter woods or a modern gray/washed look for lighter-toned woods, the transformation is profound.
Before diving into the specifics, the blend of your personal style, the type of wood, and your room’s lighting plays a pivotal role in this makeover. The right color stain can turn ordinary hardwood floors into a masterpiece of interior design.

In a nutshell, changing the stain color of your hardwood floors is an investment in your home’s beauty and your happiness. With the right approach, your floors will not only look new but feel uniquely yours—infusing every step you take with a sense of satisfaction and pride.
Choosing the Right Stain Color
When it comes to transforming your space, the power of stain hardwood floors different color cannot be overstated. However, picking the right stain color is crucial and depends on a few key factors:
Wood Type
Different woods absorb stain differently. For example, oak takes stain well and offers a wide range of color flexibility. On the other hand, maple can be tricky due to its density and uneven absorption. Knowing your wood type can help guide your color choice to ensure the end result is close to what you envision.
Room Size
The size of your room can influence your stain color choice. Darker stains can make a small room feel even smaller, while light colors can open up a space, making it feel larger and airier. Consider the size of your room when choosing your stain color to achieve the desired effect.
Lighting
Lighting plays a critical role in how a stain color looks in a room. Natural light can significantly lighten the appearance of your stain, whereas artificial light can either warm up or cool down the color. It’s a good idea to test stain samples in different lighting conditions in your room to see how the color changes throughout the day.
Color Wheel
Understanding the color wheel can help you choose a stain color that complements or contrasts with your existing decor. For instance, if your room has lots of green tones, a stain with red undertones can add a pleasing contrast. Conversely, if you prefer a harmonious look, picking a stain color with similar undertones to your decor can create a cohesive feel.
The right stain can completely transform the look and feel of your space. It’s not just about changing the color; it’s about enhancing the natural beauty of the wood and tying your room’s aesthetic together. Take your time, consider these factors, and don’t be afraid to experiment with samples before making your final decision. For more insights on choosing the perfect stain color for your hardwood floors, check out California Flooring and Design’s comprehensive guide here.
In the next section, we’ll delve into preparing your floors for staining—a critical step to ensure your chosen color shines through beautifully.
Preparing Your Floors for Staining
Before you can transform your space by staining hardwood floors a different color, it’s crucial to properly prepare your floors. This step is key to achieving a flawless finish. Let’s break down the preparation process into three main tasks: cleaning, sanding, and repairing.
Cleaning
First things first: a clean surface is essential. Any dirt, oil, or residue can prevent the stain from adhering properly, leading to an uneven color or finish. Start by sweeping or vacuuming your floor thoroughly to remove any loose dirt. For a deeper clean, use a wood floor cleaner, but make sure it doesn’t leave any residue that could interfere with the stain.
Sanding

Sanding is next, and it’s perhaps the most critical step in the preparation process. Sanding removes the old finish, evens out the surface, and opens up the wood’s pores to accept the new stain. If you’re changing the color of your hardwood floors, sanding is non-negotiable. Start with a coarser grit sandpaper and work your way up to a finer grit to ensure a smooth surface. Always sand in the direction of the wood grain to avoid scratches that could show through your new stain.
Repairing
Inspect your floors for any damage, such as deep scratches, dents, or gouges. Small imperfections can be filled with wood filler that matches the color of your wood. For larger repairs, you might need to replace sections of the flooring. It’s essential to address these issues before staining to ensure a uniform and professional-looking finish.
Important Tips:
- Test the Stain: Always test your chosen stain on a small, inconspicuous area of your floor or a spare piece of the same wood to ensure you’re happy with the color and the way the wood absorbs it.
- Ventilation: Proper ventilation is crucial during this process, especially when sanding and staining, to ensure your safety and comfort.
- Patience is Key: Allow ample time for cleaning, sanding, and repairs. Rushing through these steps can lead to disappointing results.
By following these steps carefully, you’re setting the stage for a successful staining project. Proper preparation not only ensures that your stain hardwood floors different color project will look great but also helps extend the life of your floors.
In the next section, we’ll explore the staining process itself, from choosing the right tools to applying the stain for a beautiful, long-lasting finish.
Staining Process Explained
Staining your hardwood floors a different color can completely transform the look and feel of your space. However, to achieve that perfect finish, understanding the staining process is crucial. Let’s break it down into simple steps – applying the stain, techniques to use, and the tools you’ll need.
Applying the Stain
- Test First: Always test the stain on a small, inconspicuous area or a spare piece of wood. This step ensures the color matches your expectations before covering the entire floor.
- Use Appropriate Tools: A high-quality brush, roller, or a rag can be used to apply the stain. Each tool can create a different effect, so choose based on the look you’re aiming for and the type of stain you’re using.
- Even Application: Apply the stain in the direction of the wood grain, spreading it evenly. This method helps to avoid streaks and ensures a uniform color.
Techniques
- Wiping Off Excess: After applying the stain, wipe off any excess with a clean rag. This step will prevent uneven coloring and blotches.
- Layering: For a deeper color, you can apply multiple coats of stain. Just make sure to let each layer dry thoroughly before applying the next.
- Blending: If you’re using more than one stain color, blending them can create unique effects. Be sure to practice beforehand to perfect your technique.
Tools
- Brushes: Brushes are great for detailed work and getting the stain into the wood grain. Natural bristle brushes work best for oil-based stains, while synthetic brushes are suitable for water-based stains.
- Rags: Rags can be used for a more controlled application, allowing you to rub the stain into the wood and easily wipe away excess.
- Rollers: Rollers are efficient for covering large areas quickly. Just be wary of applying too much stain at once, which can lead to pooling.
Remember: The key to a successful stain hardwood floors different color project is patience and attention to detail. Take your time with each step, from applying to drying, to ensure a finish that you’ll be happy with for years to come.
For a deeper dive into stain colors and their effects on different wood types, check out California Flooring and Design’s guide on hardwood floor stain colors.
Next up, we’ll cover how to maintain and care for your newly stained hardwood floors to keep them looking their best.
Maintenance and Care
After staining your hardwood floors a different color, maintaining their beauty and longevity becomes crucial. Here are simple yet effective tips on cleaning, protecting, and ensuring the long life of your stained hardwood floors.
Cleaning Tips:
- Dust Daily: Use a microfiber mop or cloth to capture dust and dirt. This simple step prevents the buildup of grime that can scratch and dull your floors’ finish.
- Vacuum Weekly: Opt for a vacuum with a floor-brush attachment. Vacuums with beater bars can damage the finish of your hardwood floors.
- Damp Mop for Deep Cleaning: Every so often, a deeper clean is necessary. Use a damp mop with a mild, pH-neutral cleaner. Excessive water can damage wood, so make sure your mop is just damp.
Protecting Your Floors:
- Use Mats and Rugs: Place them in high-traffic areas and entrances to catch dirt and moisture. This simple step can significantly reduce wear and tear.
- Felt Pads on Furniture: Apply felt pads under the legs of furniture to prevent scratches. This is especially important for chairs that are moved frequently.
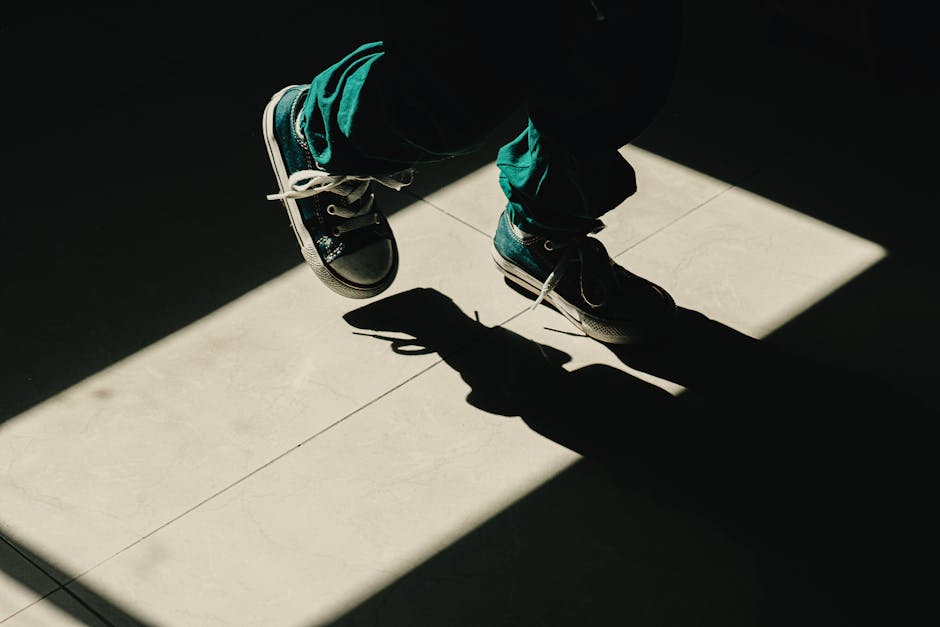
- Shoes Off: Encourage a ‘no shoes’ policy to avoid tracking dirt and potentially scratching the floor with hard or sharp shoe soles.
Ensuring Longevity:
- Regular Check-Ups: Inspect your floors regularly for signs of wear or damage. Addressing small issues early can prevent more significant problems down the line.
- Refinish When Necessary: Over time, your floors might need a fresh coat of finish or another round of staining to restore their original luster. This usually isn’t needed more than once every few years but depends on the level of traffic and wear.
By following these maintenance and care tips, you can enjoy your beautifully stained hardwood floors for many years. Regular attention not only keeps them looking great but also helps preserve your home’s value and aesthetic appeal. The key to long-lasting hardwood floors is not just in the initial stain and finish but in the consistent care they receive afterward.
For more detailed guidance on maintaining different types of flooring, visit California Flooring and Design’s comprehensive articles.
Next, we’ll address some frequently asked questions about staining hardwood floors.
Frequently Asked Questions about Staining Hardwood Floors
When it comes to stain hardwood floors different color, several common questions pop up. Let’s dive into some of these FAQs to provide you with the clarity you need.
Can I stain my hardwood floors a different color without sanding?
In short, no. Sanding is a crucial step in the staining process. It removes the old finish and evens out the surface, ensuring the new stain adheres properly and looks uniform. Skipping this step can result in a patchy, uneven finish that won’t do your floors any justice. Preparation is key to a successful stain job.
How long does it take for the stain to dry?
The drying time can vary based on the type of stain, the condition of your floors, and the environment. Generally, it takes about 24 to 48 hours for the stain to dry to the touch. However, you should wait at least 72 hours before moving furniture back in or walking on the floors with shoes. High humidity or low temperatures can extend drying times, so always check the manufacturer’s recommendations.
What are the most popular hardwood floor stain colors for 2023?
This year, we’re seeing a trend towards natural, warm tones as well as bold, dark shades. Popular colors include:
- Natural and Honey/Golden Oak for a light, airy feel that enhances the wood’s natural beauty without overpowering it. These colors are great for making small rooms appear larger and brighter.
- Dark Walnut and Ebony for a luxurious, sophisticated look. These darker tones can add depth and drama to a space, making it feel cozy and inviting.
It’s important to choose a color that complements your home’s decor and fits your personal style. For more inspiration on color trends, check out California Flooring and Design’s in-depth analysis here.
Choosing to stain hardwood floors different color can dramatically change the look and feel of your home. Armed with the right information and techniques, you can ensure a smooth and successful staining process.
Conclusion
We’ve walked through the journey of deciding to stain hardwood floors a different color, from selecting the perfect shade that complements your space and style, to preparing your floors for the transformation. We’ve also delved into the staining process itself, offering insights into the best techniques and tools for the job. Lastly, we’ve shared essential tips for maintaining and caring for your newly stained floors to ensure their longevity and continued beauty.
While staining your hardwood floors can be a rewarding DIY project, it’s not without its challenges. The process requires patience, precision, and a bit of elbow grease. For those who may not feel comfortable undertaking this task, or for those seeking flawless, professional-grade results, turning to a professional service like California Flooring and Design is a wise choice.
At California Flooring and Design, we bring decades of experience, craftsmanship, and a passion for transforming spaces through flooring. Our team of experts is ready to guide you through the process, from selecting the right stain color to the final polish, ensuring your floors look exactly as you envisioned. Plus, with our commitment to quality, you can rest assured that your floors will be a stunning aspect of your home for years to come.
Whether you decide to embark on this project yourself or opt for professional assistance, changing the color of your hardwood floors is a powerful way to revitalize your home. And no matter which path you choose, we at California Flooring and Design are here to support you every step of the way.
For more information on our services or to explore more about flooring trends and tips, visit our blog here. Together, let’s create spaces that not only reflect your personal style but also enhance the comfort and beauty of your home.